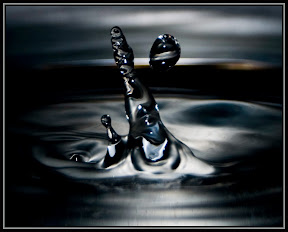
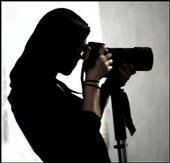
 The images of water drops are abstract and breathtaking. They can be challenging to achieve, but oh so worth it. When taking on this project, pack your patience. You may get lucky right away, but chances are it will take many many many ...many tries before you get *the* shot you are after.
Camera settings:
In order to successfully capture the droplets very fast shutter speeds (1/200 or higher) are a must, so having abundant light source is essential. It is best to use the daylight and place your setup in a good lit area, as artificially supplying this much light can be rather challenging. Aperture settings are usually set in low to mid-low range (e.g. f/3.5-6). These settings are selected when camera is in manual (M) mode. Focus should be set to manual as well. ISO can be kept low (100-400).
Setting up the shoot:
You will need a water drop "maker." For this purpose the most simple approach is to use a dropper. You can also rig your sink faucet to produce drops of water at a particular interval. Another creative way of producing water drops is to suspend a water balloon with a tiny pinned hole. Next, set up some type of water container and a background. This could be anything. Monotone surfaces help to enhance the abstract shapes, while colorful patterns are optically rendered in the drops and produce rather interesting visuals.
The final step is to mount the camera on a tripod and favorably frame the shot. Once you've decided where droplets will be (such as a point at the surface of the water or somewhere mid-air), hold an object, such as a pencil, in that location, manually focus and lock on. Make sure that a rig that you've set up is aligned to dispense drops to that location.
Photoshoot:
This step is all about reflexes. At times it can be rather difficult to coordinate pressing the shutter to capture the droplet while looking through the viewfinder, so using a shutter release cable will help.
Lastly, this technique is not just limited to water drops. Many phenomenal images can be produced with a wide variety of liquids such as india ink or soy milk. Mixing liquids of different colors can also produce interesting results. Happy shooting (:

No comments:
Post a Comment